Buying guide
Two-person home office layouts for a small room
Plan two desks, occupied chairs, calls and storage in a small office, with side-by-side and opposite-wall examples you can open and edit.
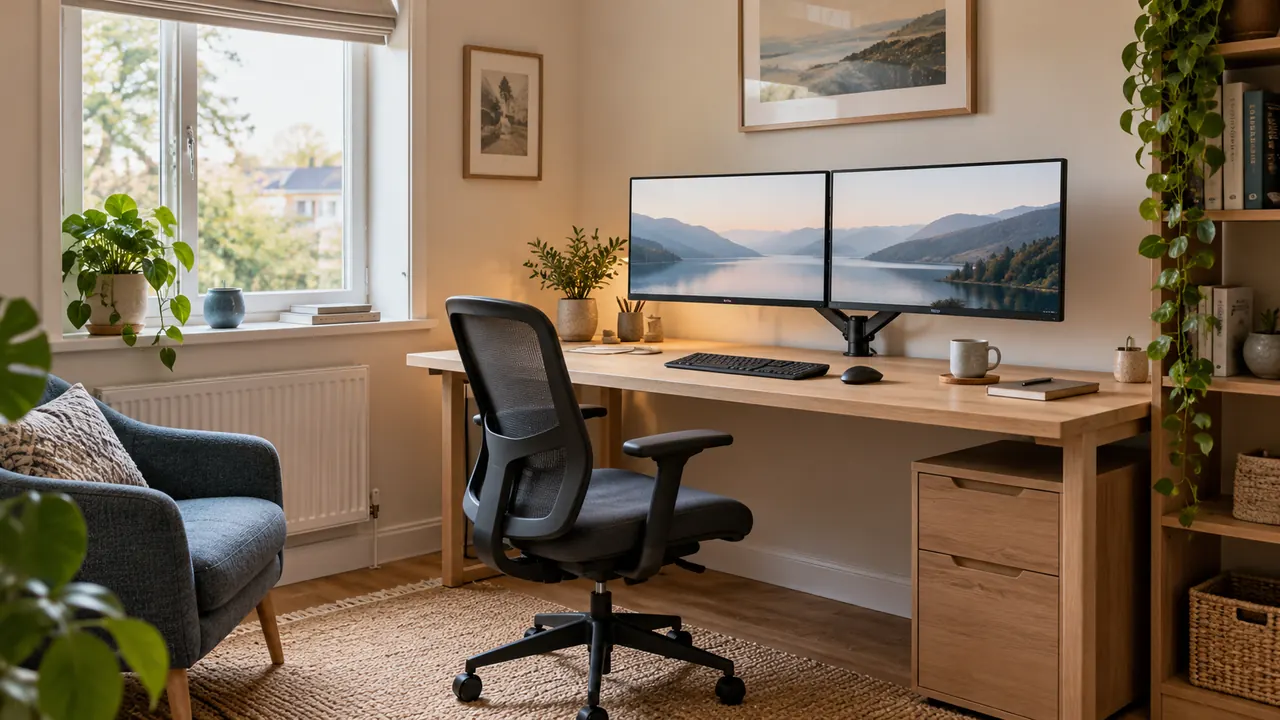
To fit two people into a small home office, start with the chairs and the route to the door. Both of you need to sit, move and leave while the other is working. Then compare desks side by side, on opposite walls or in an L shape.
The best arrangement is the one that makes those everyday movements easy.
Think about how your working days overlap, too. Two people writing quietly may happily share a wall; two people on calls may need another room for some meetings. The made-up rooms below show how to compare layouts before buying furniture.
Replace their measurements with your own and check any building or accessibility requirements that apply to your space.
Measure the room as a shared workspace
Measure the room from wall to wall, then mark the door and which way it opens. Add the windows, radiators, sockets and any storage that's staying where it is. Check what sticks out, from the skirting boards to the handles and radiator valves.
A wall that's long enough on paper can have less space for a desk once you allow for the curtains.
Write down what each person actually uses. One of you might need a laptop and notebook, while the other has two screens, a drawing tablet and papers to spread out. Measure both desks and the full width of each chair, including its arms.
Then note how much floor space each person uses to pull back and stand up. That will show whether the two desks need to be the same size.
Decide whether the room also needs a guest bed, wardrobe or drying rack. Draw these items in their open or occupied positions. A bed that folds away all week still needs a workable plan for the nights when it is used.
The same applies to cupboards whose doors swing into the proposed chair area.
Compare three ways to arrange the desks
| Layout | Useful starting point | Main constraint to test |
|---|---|---|
| Side by side | A long wall and similar working routines | Both chairs and their exit routes need room behind the desks |
| Opposite walls | Independent work areas with space between them | Occupied chairs can compete for the central route |
| L arrangement | Two usable adjoining walls or unequal desk requirements | The inside corner can trap knees, chairs or storage access |
Draw both chairs where they'll sit during work. Then try one person standing while the other stays seated, opening a drawer and walking to the door. If one person has to move each time the other gets up, mark that on the plan and try a different desk position.
The room visualiser provides an editable side-by-side starting layout. Its rectangles help compare footprints; they do not model every chair movement, cable or architectural detail.
Replace the example measurements with your own before treating the plan as a shopping list.
Side-by-side example: a 340 × 280cm room
Consider a rectangular room measuring 340cm across and 280cm from front to back. For this example, coordinates start at the top-left corner of the plan. Place one 120 × 60cm desk at x=20cm, y=20cm and the other at x=160cm, y=20cm. Both users face the top wall.
The first desk extends from x=20 to 140cm; the second extends from x=160 to 280cm. That leaves a 20cm gap between them and 60cm between the second desk and the right wall. Those are drawing choices, not prescribed spacing.
The gap could hold nothing at all, or accommodate something measured carefully enough to leave the work surfaces and cables accessible.
Add illustrative 80 × 90cm chair zones at x=40cm, y=90cm and x=180cm, y=90cm. Each extends to y=180cm. A 90 × 90cm door area sits at x=250cm, y=190cm, reaching the right and bottom boundaries.
That rectangle reserves a visible area for the doorway; confirm the actual leaf, hinge position and swing separately.

This arrangement leaves a broad lower part of the drawing available for circulation, but it does not prove that any particular chair or door will work. Check the route from the left workstation past the right user's occupied chair.
Also check what happens if the right user pulls back while somebody enters. Open this side-by-side example in the visualiser and move the objects to match the room.
What side-by-side desks do well
Sharing one wall can make cable routing and storage straightforward. Both desks can feed into an accessible wall-side cable route, and a shared shelf can sit above the work area if its installation and position suit the wall and users.
It also makes quick conversations easy without constantly turning around.
The trade-off is distraction. Keyboard noise, hand movements and changing screen content sit close to the neighbouring user. A small divider may reduce visual distraction, but it also occupies space and changes access to cables and shared equipment.
Measure its supports rather than counting only the panel thickness.
Separate desks can offer individual height adjustment and make future rearrangement easier. A single long desktop may give a cleaner surface, but confirm its support positions, load limits and usable knee spaces.
A central pedestal can remove precisely the legroom that the second person needs. Avoid assuming that dividing a long advertised width in half creates two equivalent workstations.
Opposite-wall example: a 320 × 300cm room
For an alternative, use a room 320cm wide and 300cm deep. Place a 120 × 60cm desk at x=20cm, y=20cm, facing the top wall. Put another at x=180cm, y=220cm, facing the bottom wall. The desks are staggered sideways rather than directly aligned.
Give the top desk an illustrative 80 × 90cm chair zone at x=40cm, y=90cm. Give the bottom desk the same-sized zone at x=200cm, y=120cm. The second chair faces towards the bottom desk.
The zones overlap in their front-to-back range but remain separated across the room in this simple drawing.
That staggering can help distribute movement, although it also changes where cupboards and windows can go. The 40cm horizontal strip between the chair-zone rectangles is only a feature of this sketch.
It is not a recommended passage width and should not become the assumed route through the occupied room. Test actual routes around the zones and locate the real door before accepting the arrangement.
Load the opposite-wall layout to compare it with the first example. Add the missing door position, storage and window before choosing between them. A door in the wrong corner can reverse which layout works best.
When an L-shaped arrangement is worth trying
An L layout places the desks along adjoining walls. It can suit a room where a window, chimney breast or built-in cupboard breaks up the available wall lengths.
It also allows unequal desks: perhaps one wide computer workstation and one smaller writing surface.
The inside corner needs particular attention. If the desks meet tightly, one person's usable work area may end where the other person's monitor begins. Pedestals and desk legs can block the corner even when the desktops appear generous.
Draw the support frames and knee spaces, not just the top surfaces.
Leave the corner unallocated until you have tested both seating positions. It may become useful shared space for an occasional document tray, but a frequently used printer there could force both people to reach across each other.
Do not count an inaccessible corner twice when comparing total desktop area. For daily work, reachable usable surface matters more than the combined area printed in a product listing.
Choose desk sizes for each person's tasks
A 120 × 60cm desk is an example input, not the default answer for every shared office. Lay out the actual monitor stand, keyboard, mouse and paperwork. A shallow surface that accommodates a laptop might become awkward with a large monitor stand.
Increasing depth can improve desktop flexibility while reducing the space available behind the chair.
The 120cm versus 140cm versus 160cm desk guide helps compare individual workstation widths. In a two-person room, repeat that calculation for both users and then recheck the complete plan.
Two 160cm desks require different wall lengths, supports and access routes from two 120cm desks.
Keep some flexibility in the allocation. If one user changes between laptop work and drawing, a small movable table may be more useful than making both permanent desks larger. Check its parking position as well as its working position.
Temporary furniture still occupies real floor space when it is not needed.
Plan chair movement before adding storage
Chair rectangles should represent measured use rather than the catalogue seat dimensions alone. Armrests, star bases and reclining backrests can extend beyond the seat.
Mark where the chair sits during ordinary work, then where it moves when its user stands and turns to leave.
Do the movement test with both people present. One user might push straight backwards; another may rotate and move diagonally. A layout that works when one chair is tucked in can fail during an ordinary conversation or coffee break.
If someone needs additional access space or uses mobility equipment, plan around those actual requirements from the outset.
The chair-clearance guide explains how to distinguish occupied-chair space, pull-back movement and a route behind the chair. Keep those functions separate when drawing the room.
A shared passage should remain usable when someone is working, rather than depending on their willingness to squeeze forwards whenever the other person moves.
Try two calls at the same time
Two headsets do not create two private offices. Each microphone can still pick up the other person's voice, and both users can hear nearby speech around or through their headphones.
Software settings and microphone placement change the result, so test the actual equipment on the calling platform you use.
Run a realistic trial: both users speak at their normal level while remote participants listen. Check whether a microphone captures the neighbour and whether either user raises their voice to compete.
Turn-taking in a casual test is less demanding than two unrelated meetings happening at once.
Soft furnishings can change the room's sound, but do not assume that a desktop divider or decorative foam provides speech privacy. If confidential or frequent overlapping calls are normal, reserve an alternative room or agree a booking arrangement.
The small-room video-call guide covers camera framing, light and microphone checks in more detail. A workable meeting routine may improve the shared office more than another accessory.
Give each screen and camera a light check
Sit at each proposed workstation at the times you usually work. Look for reflections on the displays and bright windows in either camera view. A position that suits the first desk may put the second user directly in a reflection or leave their face poorly lit.
Adjustable blinds and separate task lights let the two users respond to different tasks, but check the effect on both screens. A lamp angled away from one monitor can reflect in the neighbouring display.
Camera backgrounds also interact: with opposite walls, a colleague may appear behind the other person whenever they leave their chair.
Use the HSE workstation checklist to review movement space, light, noise and cables at both desks. Work through it together so a change that helps one person doesn't make the other desk harder to use.
Check reflections again once the actual monitors are installed, especially during afternoon calls.
Keep shared power and storage reachable
List the devices that need power at each station, including chargers, monitors and lamps. Plan cable routes that follow furniture or walls without crossing chair movement or the doorway.
Extension equipment should be suitable for the connected load and used according to its instructions; two desks do not justify linking power strips together.
Label each person's chargers and make the shared equipment easy to reach without disturbing the other user. Keep plugs accessible for disconnection and cleaning.
Sit-stand desks need cable slack throughout their travel, and a shared cable bundle must not tie independently moving desks together.
Put frequently used personal items near their owner and occasional shared supplies elsewhere. A central cabinet may look efficient while making both users stand repeatedly. Check drawers fully open and shelf doors at their maximum swing.
Under-desk storage is only useful if it leaves the required leg and chair movement available. Save the last spare patch of floor until after the occupied-room test.
Try an ordinary working day together
Mark the proposed desks and chair areas with removable tape, then borrow tables or use the current furniture to approximate the arrangement. Test typing, handwritten notes, getting up, passing behind the other user and opening storage.
Include at least one period of overlapping calls if that is part of your routine.
Write down exactly what gets in the way: perhaps the second chair hits a drawer, the laptop charger crosses the walking route or afternoon light reflects on one screen. Change one part of the layout, then try that task again.
You'll know whether the change helped without having to rearrange the entire room.
Choose the layout that supports both people's real work with manageable compromises.
Print or copy a summary of each arrangement before opening the next example: the visualiser keeps one current layout in local browser storage, rather than a collection of saved versions.
Buy furniture only after confirming its actual dimensions, support arrangement and delivery access. Recheck the completed room together once the equipment is installed, because two individually comfortable desks still need to function as one shared space.
Keep exploring
Related home office guides
 How much space do you need behind a desk for a chair?Measure occupied chair space, standing movement and a separate walking route, with a worked room plan you can edit before choosing a desk.120cm vs 140cm vs 160cm desks: what actually fits?Compare three desk widths using the same equipment, writing space and room-clearance checks, without assuming a larger desk always works better.Small-room video calls: camera, light and clear audioImprove small-room video calls with camera framing, daylight layouts, microphone checks and a before-buying recording sequence.